
Last updated November 15, 2026
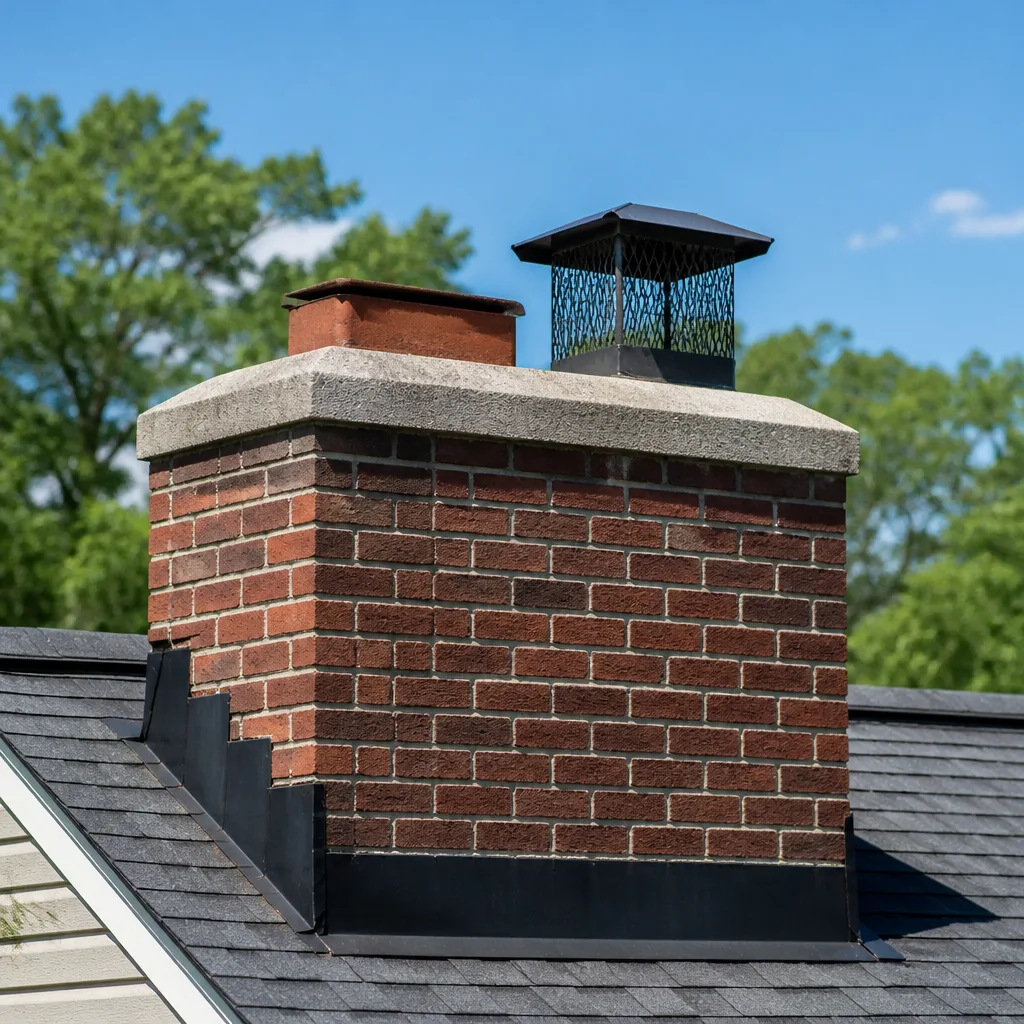 Sweep & inspection
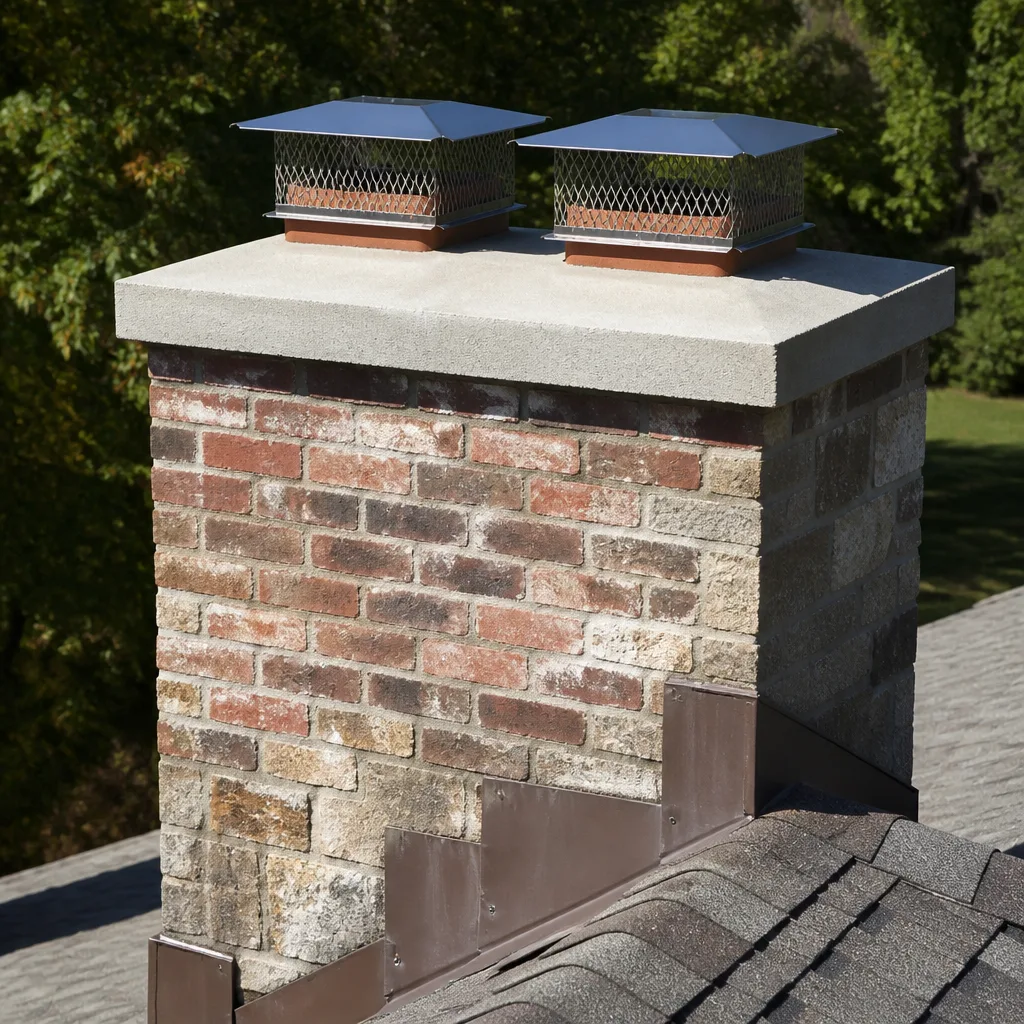 Caps & crowns
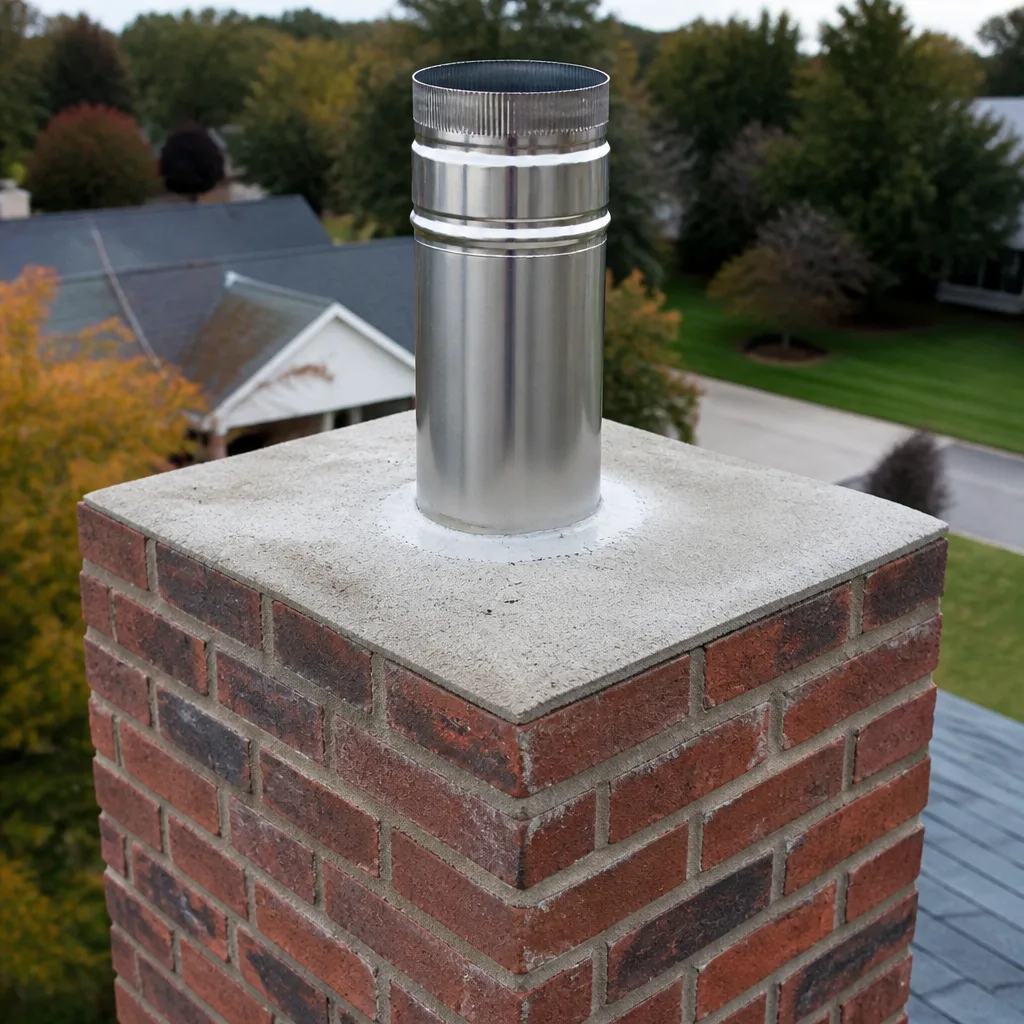 Flue relining
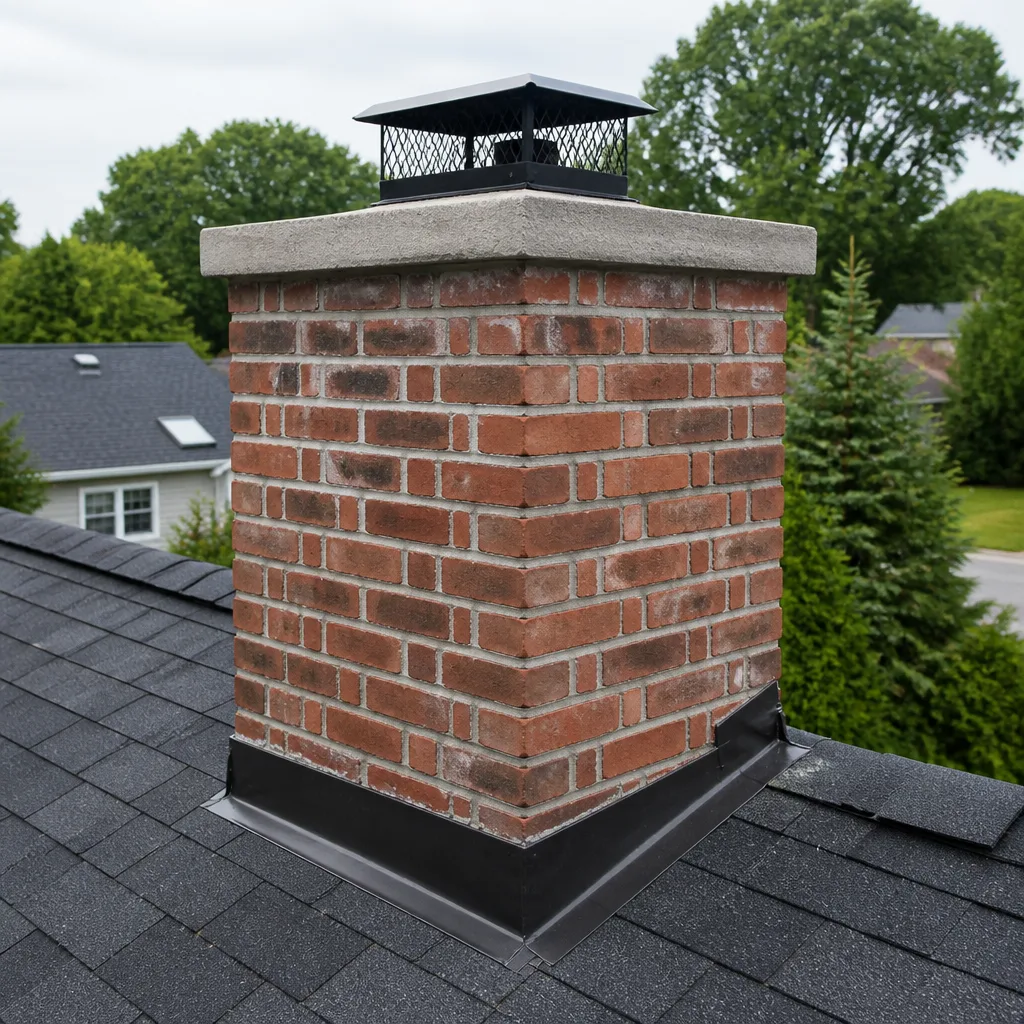 Masonry repair
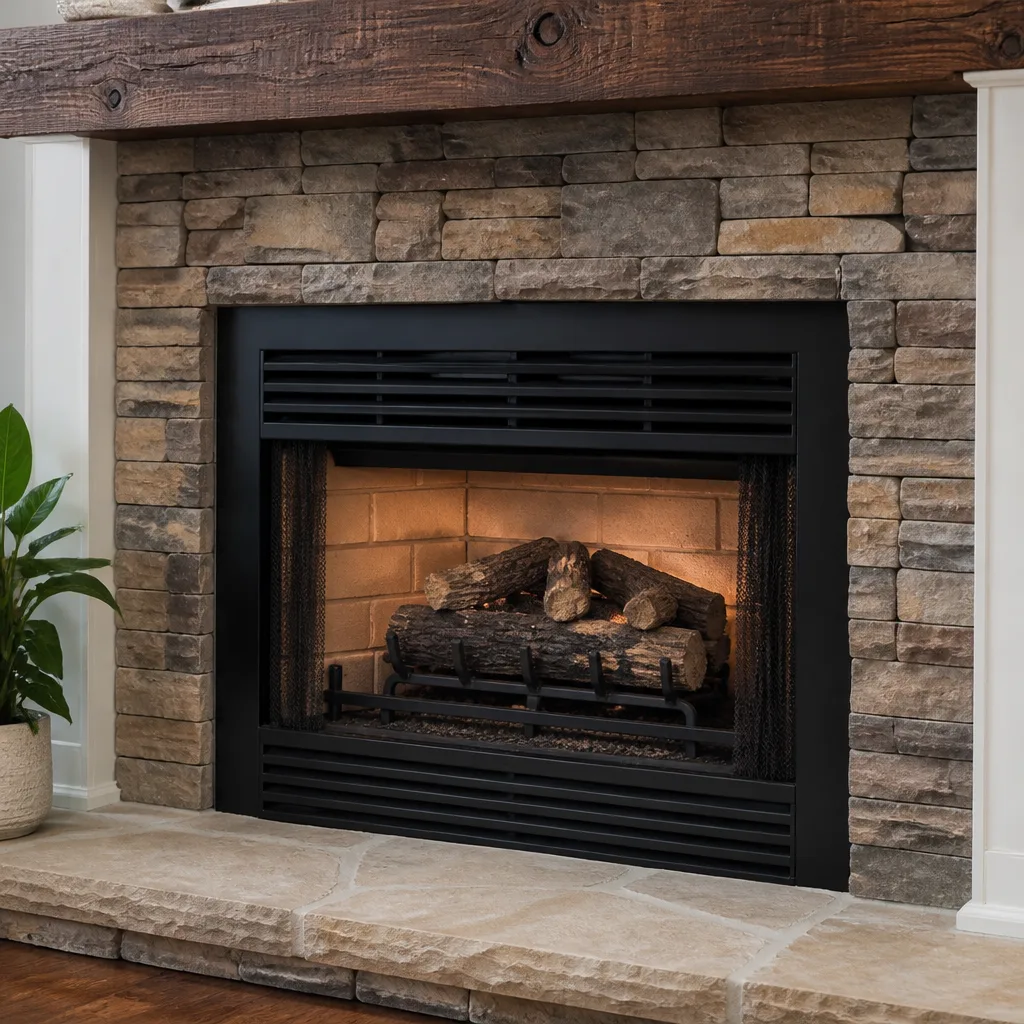 Gas fireplace service
Level 1 sweep and inspection to the NFPA 211 annual standard - flue, crown, cap, and flashing checked and photographed
Chimney sweep logs do not sweep chimneys. They loosen some creosote - which then falls where a brush and vacuum still have to collect it.
Chimney Sweep Maintenance Checklist for Kansas City Homeowners
A chimney doesn’t fail all at once. It fails in a predictable sequence – crown, then mortar joints, then liner, then structure – and catching it one step early costs a fraction of catching it one step late. Most maintenance checklists hand you a generic seasonal to-do list that treats every house the same. This one is built around the specific failure cascade of a masonry chimney in a freeze-thaw climate, ordered by what goes wrong first in Kansas City and what costs the most to ignore. You’ll get a prioritized inspection sequence, the conditions you can check from the ground versus the ones only a trained technician can see, and a simple way to document what your chimney does between visits so your next appointment starts with real information.
Quick Answer
A Kansas City chimney maintenance checklist should follow the order the system actually fails: check the crown and cap first, then mortar joints and flashing, then the flue liner, and finally the firebox and surrounding structure. Sweep wood-burning flues annually before heating season, have gas and oil appliances inspected yearly, and keep your dryer vent on the same maintenance calendar. The freeze-thaw cycle here does most of the early damage, so inspecting the exterior before winter is the single highest-value step.
Styles & brands we work with
- Sweep & inspection
- Caps & crowns
- Flue relining
- Masonry repair
- Gas fireplace service
Table of Contents
- Why the Order of Your Checklist Matters in Kansas City
- Step 1: The Crown and Cap – Your First Line of Defense
- Step 2: Mortar Joints, Flashing, and Storm Damage From the Roofline
- Step 3: The Flue Liner – The Hidden Component That Decides Everything
- Homeowner Checks vs. Technician Checks: What You Can See Yourself
- Wood-Burning vs. Gas Fireplace Checklists: Why They Can’t Be Merged
- What to Document Between Annual Sweeps
- The Dryer Vent Belongs on the Same Checklist
Why the Order of Your Checklist Matters in Kansas City
Most chimney problems start outside and move in. Water gets past the top before fire ever touches the inside. Kansas City sits in a climate where masonry takes a real beating: wet springs, hot summers, and winters that freeze and thaw repeatedly. Every time moisture soaks into brick or mortar and then freezes, it expands and pushes the material apart a little more. Repeat that over a few seasons and the crown cracks, the joints soften, and water finds a path down the flue.
That’s why the order of a checklist beats the length of it. If you clean the flue religiously but never look at the crown, you’re addressing the later stage of a failure that’s already underway above your head. The sequence below runs from the top of the chimney down, because that’s the direction water and weather work in. It’s also the order of cost: a crown repair caught early is minor work, while a failed crown that has saturated the structure behind a liner becomes a relining and masonry job.
In our experience across Kansas City, the homeowners who avoid expensive repairs aren’t the ones who sweep most often. They’re the ones who understand which component is likely to fail next and look there first. When you’re ready for hands-on service, our Kansas City Chimney Cleaning page covers what a professional appointment includes from start to finish.
How the failure cascade works
- Crown deterioration. The concrete cap on top cracks, and water begins entering the masonry.
- Mortar joint failure. Freezing and thawing loosens the joints between bricks, letting in more water.
- Flashing and cap damage. Storm exposure and hail open gaps at the roofline where water and animals enter.
- Liner breakdown. Moisture and corrosive flue gases degrade the liner, creating a fire and carbon monoxide hazard.
- Structural compromise. Prolonged water intrusion damages the chimney’s internal structure and the framing around it.
Each step makes the next one more likely. Catching a problem at step one or two keeps it a repair. Catching it at four or five turns it into reconstruction.
Step 1: The Crown and Cap – Your First Line of Defense
The crown is the concrete slab at the very top of a masonry chimney, sloped to shed water away from the flue. It’s the most neglected component on most Kansas City chimneys and the one that starts the trouble. A hairline crack is all it takes. Water gets in, freezes overnight when temperatures drop, and widens the crack. One Kansas City winter can turn a cosmetic crack into a crown that needs rebuilding. If you only inspect one thing on this checklist, make it the crown.
The cap – the structure covering the flue opening – matters just as much here because of the region’s storm and hail exposure. A damaged cap lets rain straight down the flue, and a missing or loose cap invites birds, squirrels, and raccoons to nest inside. Purpose-built caps and covers hold up far better than improvised hardware. That’s why we use components from Famco and Gelco for caps and covers rather than whatever fits at the hardware store. A cap sized correctly to your flue keeps weather and animals out without restricting draft.
What to check on the crown and cap
- Cracks wider than a hairline, or any crack you can slide a coin into
- Parts of the crown pulling away from the flue or crumbling at the edges
- A slope that’s flattened out, so water pools instead of running off
- A cap that’s bent, loose, rusted through, or missing a screen
- Visible gaps where the cap meets the flue tile
Small crown cracks can sometimes be sealed before they spread. A crown that has lost its slope or separated from the flue needs rebuilding, and that’s roof-level work best left to a trained professional. It’s also worth knowing that when water damage has already reached the liner, HeatShield resurfacing can often restore a damaged flue rather than requiring replacement – a repair path that makes early crown work pay off.
Step 2: Mortar Joints, Flashing, and Storm Damage From the Roofline
Once water gets past a failing crown, the mortar joints are next. These are the visible seams between the bricks, and in a freeze-thaw climate they act as the chimney’s weak points. Older Kansas City homes especially tend to have original mortar that has weathered decades of temperature swings. Look for joints that have receded from the brick face, turned powdery, or show white staining. Spalling brick – where the face flakes off – is a sign moisture is already inside the masonry and freezing there.
Flashing is the metal where the chimney meets the roof. It’s easy to overlook because it’s low-profile and often partly hidden by shingles, but failed flashing is one of the most common sources of roof leaks around a chimney. Storm exposure and hail in this region bend flashing and open seams over time. A loose or lifted edge lets water run straight into the roof structure.
The roofline inspection sequence
- Look at the mortar joints from the ground with binoculars before climbing anything. Note receding, powdery, or missing mortar.
- Check the flashing line for lifted, rusted, or separated metal where the chimney meets the roof.
- Look for white mineral staining on the brick, which points to ongoing moisture.
- Note any spalling brick or pieces on the roof surface below the chimney.
- Confirm the cap and crown visually from the ground, and leave any hands-on roof work to a professional.
We’re specific about the brand stack on repair work for a reason. Materials from Olympia Chimney mean the flashing and venting components are purpose-built for chimney systems, not generic sheet metal. The right product for the job is what separates a repair that lasts from a patch that fails next season. If you’re trying to decide whether a repair is worth it now or can wait, our chimney sweep page explains how a professional inspection determines that.
Step 3: The Flue Liner – The Hidden Component That Decides Everything
The liner is the flue’s inner wall. It contains combustion gases and heat and keeps them from reaching the surrounding structure. You can’t see it from the ground, which is exactly why it belongs high on your checklist. A cracked or deteriorated liner is a fire hazard and a carbon monoxide hazard, and in a wood-burning chimney the creosote that builds up on a damaged liner surface is where trouble starts. It’s the component that quietly determines whether your chimney is safe to use.
This is where the failure cascade gets expensive. If water has been working on your crown and mortar for a few seasons, it can reach the liner and degrade it without any visible sign from outside. That’s why liner condition is a technician-only check – a camera inspection is the only reliable way to see it. And it’s why we offer full structural repair, not just sweeping. When a liner is failing, DuraFlex stainless-steel liner systems let us reline for wood, gas, and oil appliances properly. When the liner is damaged but salvageable, HeatShield resurfacing can restore it instead of replacing it.
What the liner check covers
- Cracks, gaps, or missing sections in clay tile liners
- Corrosion or joint failure in metal liners
- Creosote buildup, including glazed third-degree creosote
- Proper sizing for the appliance that’s connected
- Signs of moisture or condensation behind the liner
Nothing about a liner diagnosis should be a mystery to you. A professional inspection with a camera shows you exactly what’s inside the flue, and a written report documents it. When a repair is recommended, it’s because the evidence is visible, not because it’s the upsell of the day.
Homeowner Checks vs. Technician Checks: What You Can See Yourself
You don’t need to climb on your roof to be a responsible chimney owner, but you do need to know which checks are yours and which aren’t. Splitting the list honestly keeps you safe and makes your professional appointment more useful. The distinction is simple: you can observe from the ground and roofline, and a technician handles anything that requires looking inside the flue or getting onto the roof.
What you can check yourself
- Crown and cap condition, viewed from the ground with binoculars
- Mortar joints that look receded, powdery, or stained
- White staining or spalling brick on the chimney exterior
- Flashing that looks lifted, rusted, or separated
- Debris, nests, or leaves near the cap or in the firebox
- Smoke behavior – draft problems, odors, or smoke spilling into the room
What a technician must check
- The flue liner, via camera inspection
- The interior of the firebox and smoke chamber
- Creosote level and type
- The damper and its seal
- Anything requiring roof access or hands-on work at height
That split matters especially in Kansas City, where the exterior damage from freeze-thaw is what you’re most likely to spot first. Use your ground-level checks to note changes through the year, and let the technician handle the rest. When something you’ve spotted looks serious, our Kansas City page connects you with the repair side of the service.
Wood-Burning vs. Gas Fireplace Checklists: Why They Can’t Be Merged
A wood-burning fireplace and a gas appliance fail in different ways, and using one checklist for both is how hazards get missed. Wood-burning chimneys are dominated by creosote and moisture from the outside. Gas fireplaces are dominated by condensation and by the fact that they’re commonly assumed to be maintenance-free. They aren’t. This distinction is one of the most overlooked parts of chimney maintenance in Kansas City, where many homes have both a wood fireplace and a gas appliance or insert.
Wood-burning chimney checklist
- Sweep the flue annually, more often with heavy use.
- Check creosote level and type during the sweep.
- Inspect the liner for cracks that creosote and heat can exploit.
- Confirm the damper opens and seals fully.
- Inspect the crown and cap for exterior damage before heating season.
- Look for signs of water intrusion, which is the wood-burner’s quiet enemy.
Gas and vented appliance checklist
- Have the venting inspected yearly even if the fireplace “looks clean.”
- Check the vent for condensation, corrosion, and blockages.
- Confirm the appliance vents properly and has no spillage.
- Inspect the venting terminations for damage or animal nests.
- Make sure a carbon monoxide alarm is working near the appliance.
- Have the liner and venting checked by a technician – you can’t assess these yourself.
The gas version carries a safety point people underestimate. A gas appliance with a blocked or damaged vent can spill carbon monoxide into the home, and it gives no creosote smell to warn you. That’s the missed hazard. One provider covering both is the practical fix, and it’s why we handle wood, gas, and oil venting with the same professional-grade materials on every job rather than treating gas as an afterthought.
What to Document Between Annual Sweeps
“It smells weird” tells your technician almost nothing. A short written record tells them where to look first. You don’t need a spreadsheet – a note on your phone works. The point is to capture what your chimney does between appointments so the next inspection starts with a useful history rather than a blank slate. That record is how you turn a single checkup into a real maintenance timeline for your Kansas City home.
What to keep track of
- Dates of each sweep and inspection
- Any change in smoke behavior or draft
- New odors, and when they appear (rainy days, first fire of the season, warm weather)
- Anything you’ve noticed on the exterior – new cracks, staining, missing cap pieces
- Changes to your fireplace or appliance use (new insert, more frequent burns)
- The date and findings of the last camera inspection, plus any report or photos
- Small water stains or drips you’ve spotted inside
Keep the written report from each professional visit with these notes. A camera inspection with a photo report gives you a visual record of the liner and firebox condition, which is a benchmark for the next visit. That’s how you or a future owner can compare condition over time instead of guessing. Over a few years, this document becomes the clearest evidence of what’s been looked at and what’s been repaired.
The Dryer Vent Belongs on the Same Checklist
Chimney fires get the attention, but dryer vents cause a large share of residential fires every year, and they fail in a similarly predictable way – lint accumulates until airflow drops and the appliance runs hot. That’s why a complete maintenance checklist for a Kansas City home includes dryer vent cleaning alongside the chimney. Two of the leading causes of house fires, one maintenance relationship, no coordinating separate contractors.
Lint buildup isn’t the only problem. In a freeze-thaw climate, dryer vents routed through exterior walls can also collect moisture and clog at the termination where a flapper sticks or a bird builds a nest. Check the outside vent regularly, keep the termination clear, and add the dryer vent to the same yearly service visit as your chimney. Purpose-built venting components matter here too – it’s the same standard we hold for chimney parts.
Common Mistakes to Avoid
- Cleaning the flue while ignoring the crown. Sweeping a chimney whose crown is cracked just means you cleaned the inside of a leaky system. Fix the top first.
- Assuming a gas fireplace needs no maintenance. Gas appliances still vent, still condense, and still need yearly inspection – the lack of creosote smell doesn’t mean there’s nothing wrong.
- Skipping the exterior when it’s cold. Kansas City winters are exactly when freeze-thaw damage accelerates, so the pre-winter look at the crown and mortar is the one you can’t skip.
- Using a generic cap from the hardware store. An ill-fitting cap can restrict draft or fail in hail. Purpose-built components from Famco and Gelco last and fit correctly.
- Treating a liner crack as a “sweep problem.” A damaged liner is a structural and safety issue that needs resurfacing or relining, not a cleaning.
- Forgetting the dryer vent. Leaving it off the checklist leaves a leading fire cause unchecked.
- Relying on memory instead of records. Without notes and a written inspection report, every visit starts from scratch and changes go unnoticed.
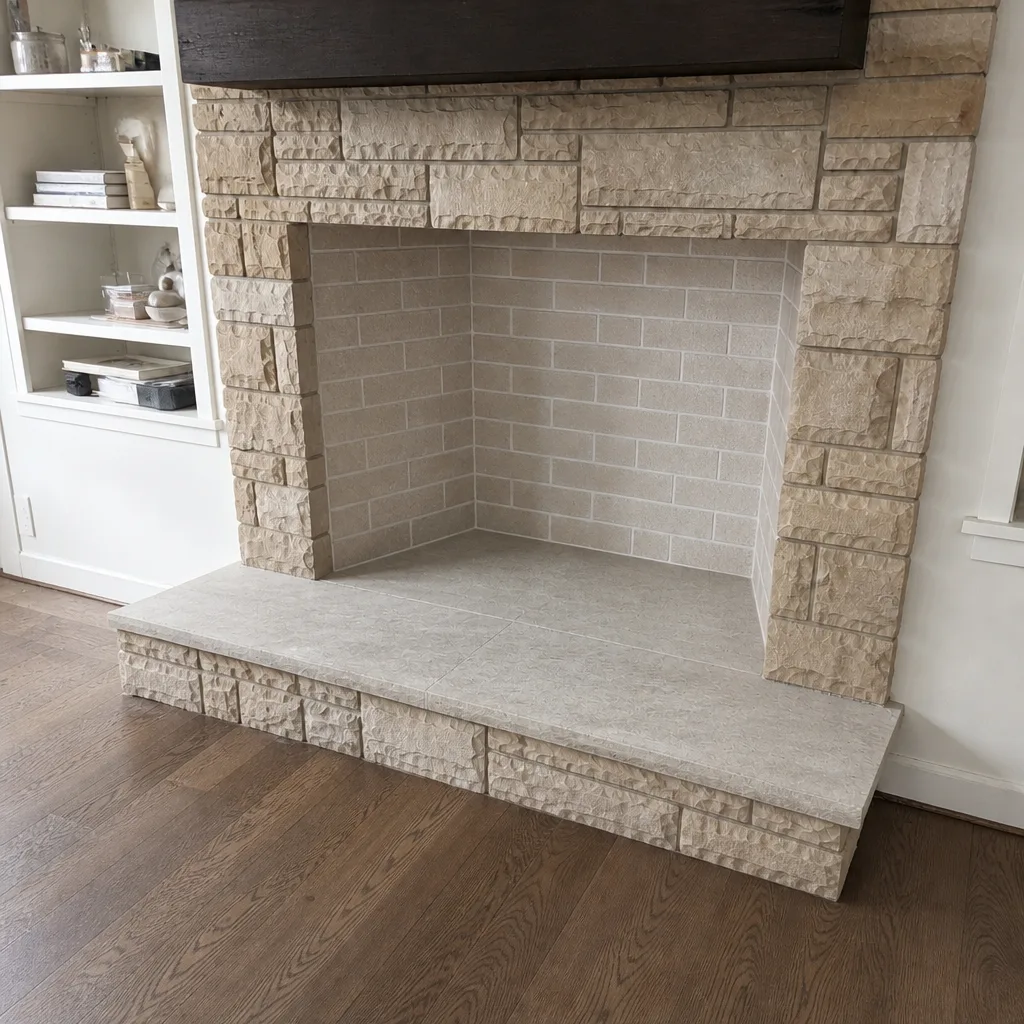
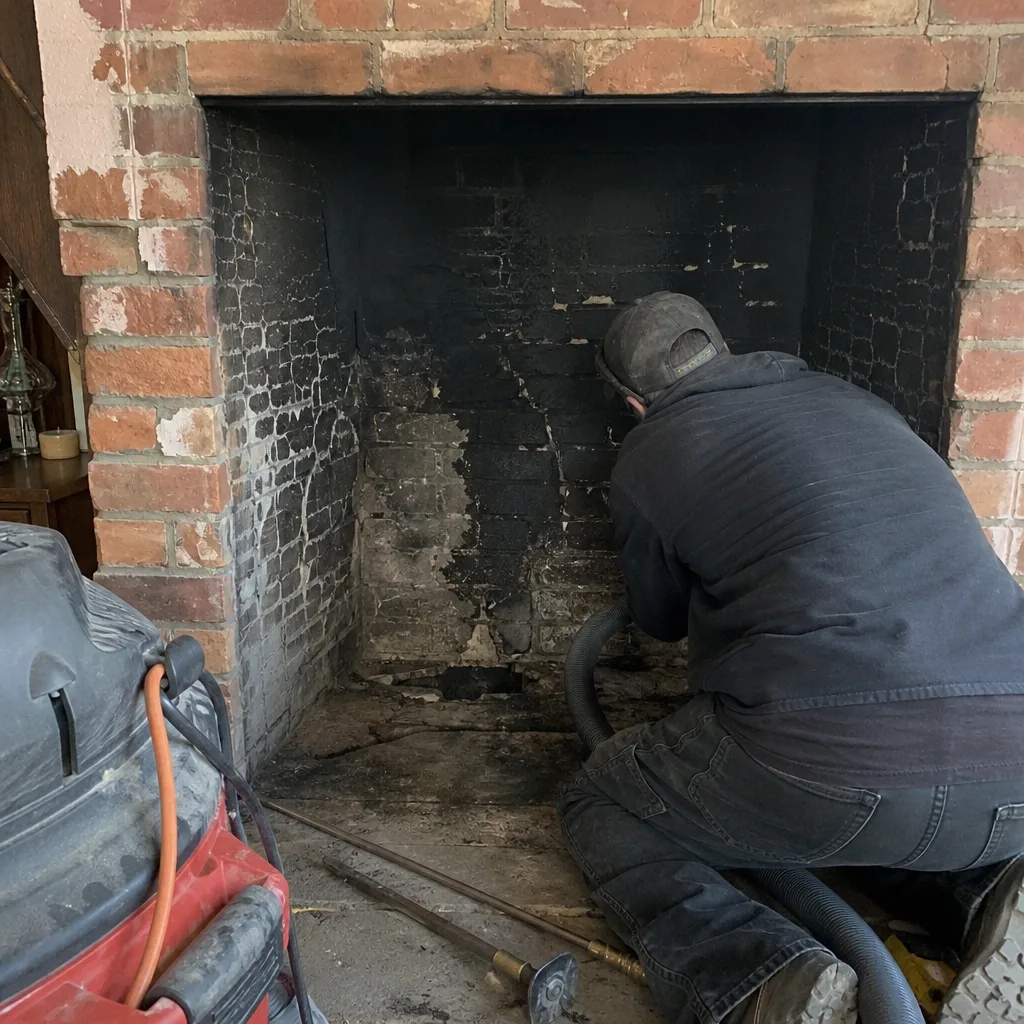
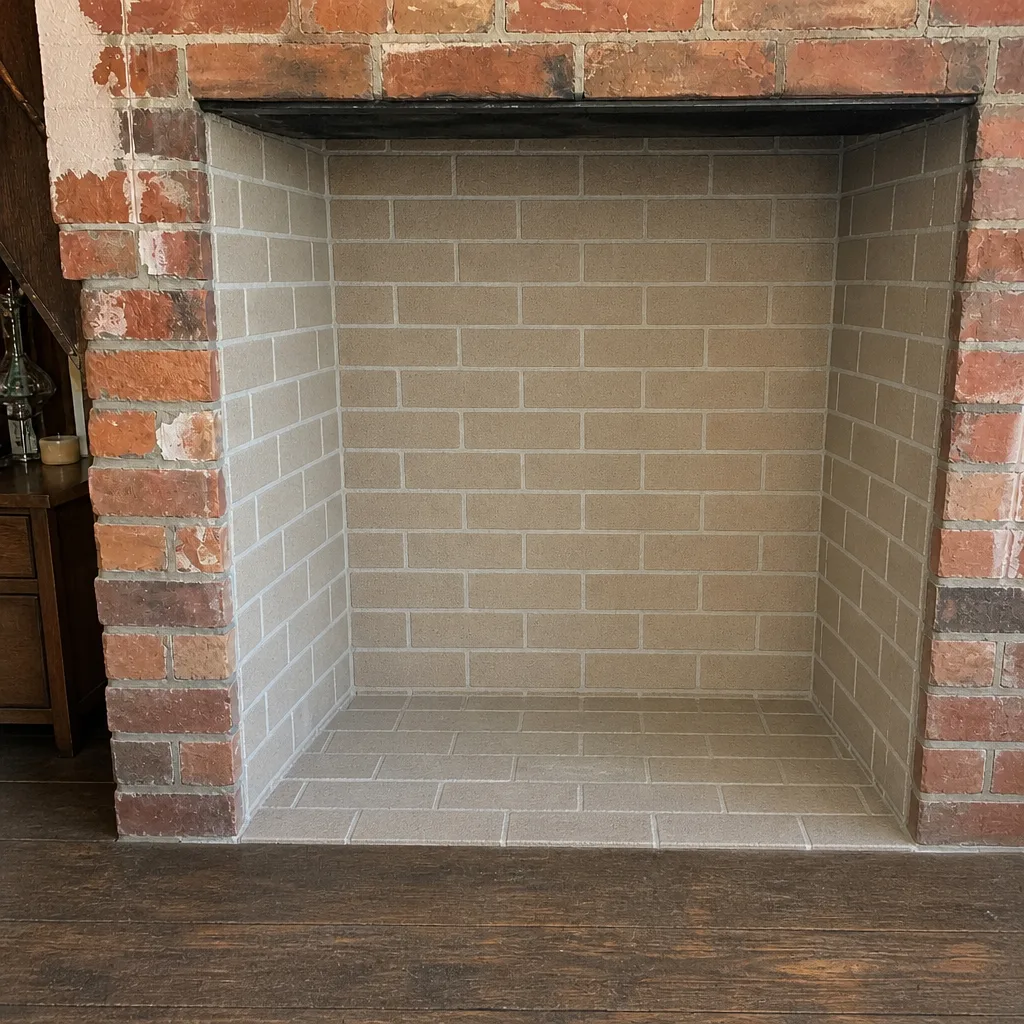
See the difference
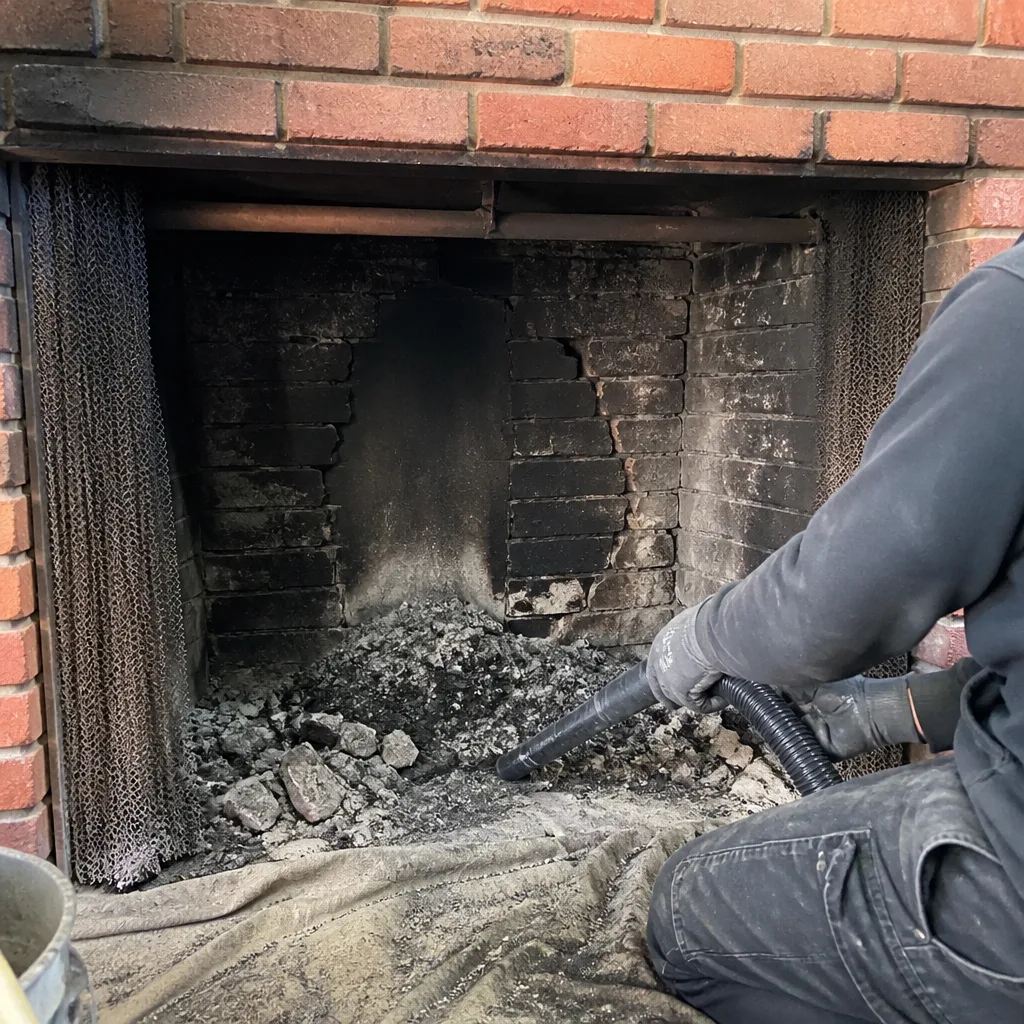 Before
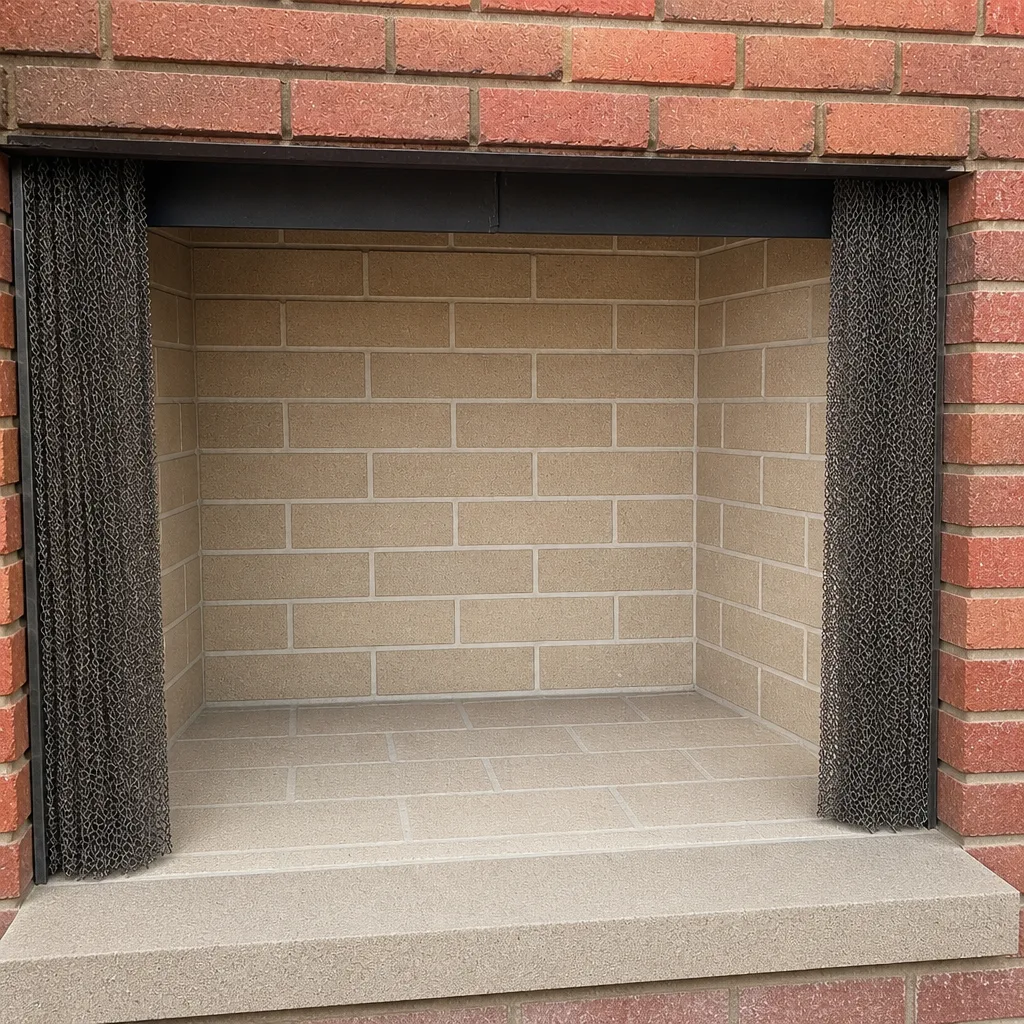 After
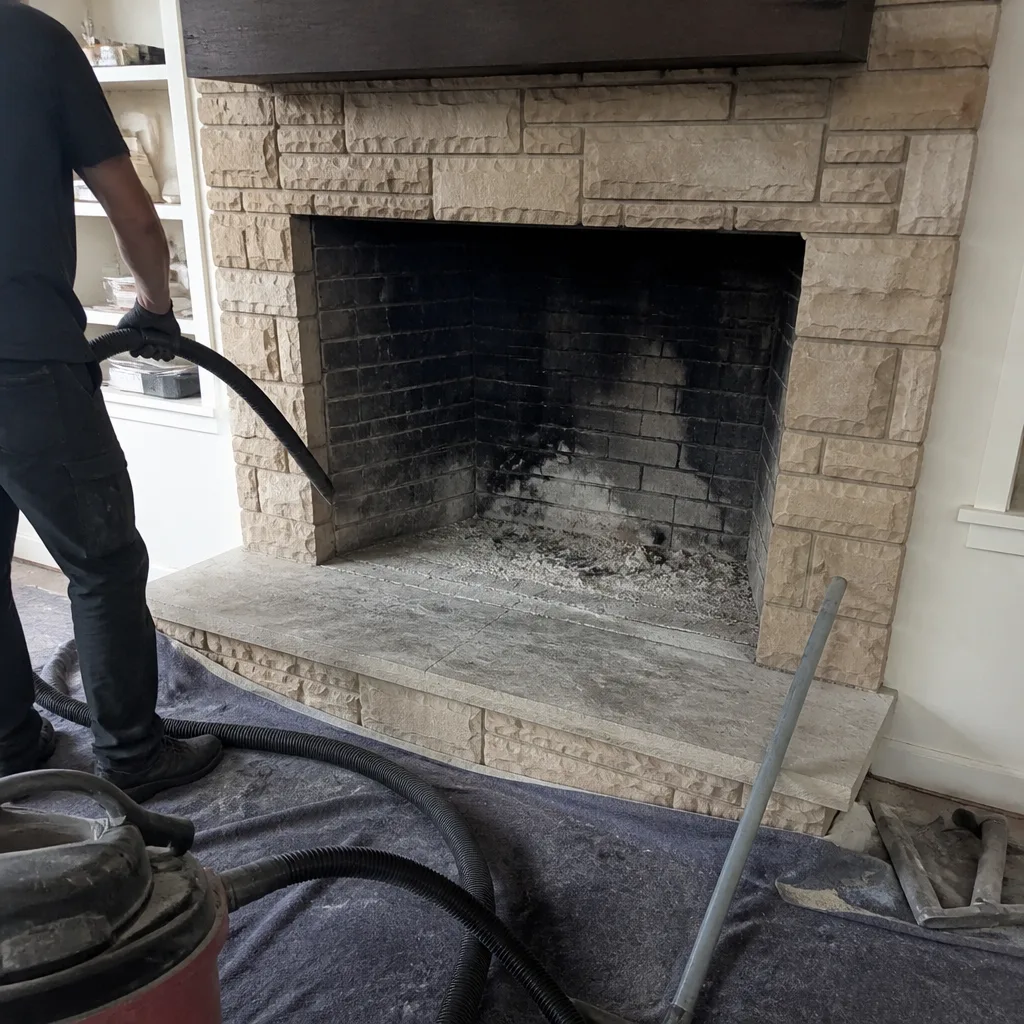 Before
 After
 Before
 After
When to Call a Professional
Call a professional when you spot crown cracks wider than a hairline, mortar that’s receding or powdery, spalling brick, or flashing that’s lifted or separated. Call before heating season if you burn wood and it’s been a year or more since the last sweep, and call any time you notice smoke spilling into the room, a persistent odor, or draft problems. A damaged liner is a reason to call sooner rather than later, and so is any gas appliance with a vent you can’t confirm is clear. Roof-level and liner work belongs to a trained professional, no exceptions.
Kansas City Chimney Cleaning offers free estimates in Kansas City – call (866) 480-2930. We resurface, reline, and repair, not just sweep, and we use professional-grade materials on every job. You get an estimate in writing that sets the final price, and a camera inspection with a photo report so you can see for yourself what the recommendation is based on.
Frequently Asked Questions
Wood-burning chimneys should be swept at least once a year, and more often with frequent use. Gas and vented appliances should be inspected yearly even though there’s no creosote to sweep. The freeze-thaw climate here makes the yearly exterior inspection every bit as important as the flue cleaning. Call (866) 480-2930 for an exact quote – estimates are free.
Not always – a damaged liner can often be resurfaced with HeatShield rather than fully replaced, and a camera inspection shows which is right for your flue. Replacement with a DuraFlex stainless-steel liner is the fix when the liner is beyond resurfacing. Nothing should be recommended without camera evidence you can see for yourself. Call (866) 480-2930 to schedule an inspection – estimates are free.
Skipping maintenance lets the failure cascade run its course – crown cracks lead to mortar damage, then liner breakdown, then structural repair. The safety side is creosote buildup raising fire risk and a damaged liner letting carbon monoxide through. Catching any of it one step early costs a fraction of catching it late. Call (866) 480-2930 for an exact quote – estimates are free.
Yes – you can check the crown, cap, mortar, staining, and flashing from the ground with binoculars, and that’s genuinely useful. You can’t inspect the liner or firebox yourself, though, so the inside checks still need a technician with a camera. Note what you see and let the professional look inside.
A wood-burning checklist centers on creosote, the liner, and moisture from outside, while a gas checklist centers on venting, condensation, and carbon monoxide safety. They can’t be merged because each misses the other’s main hazard. Many Kansas City homes have both, so have one provider check both at once.
A repair can safely wait when a camera inspection shows the component is stable and the problem is cosmetic, and that’s a call a technician should make with you looking at the evidence. Cracks wider than a hairline, spalling brick, and liner damage shouldn’t wait. Ask for a written report and a plain explanation of what can be deferred. Call (866) 480-2930 – estimates are free.
The Bottom Line
A chimney doesn’t fail all at once. It fails in sequence – crown, then mortar joints, then liner, then structure – and the whole game is catching each step one stage early. Inspect the crown and cap first, watch the mortar and flashing through Kansas City’s freeze-thaw seasons, and leave the liner to a camera inspection by a technician. Keep wood-burning and gas checklists separate, put the dryer vent on the same calendar, and document what your chimney does between visits. Do that and your maintenance stays repair work instead of turning into reconstruction. From sweep to structural repair, the right products on every job make the difference.
Call (866) 480-2930 for a free estimate. We answer 24/7. Fast dispatch from 7am to 7pm, Sunday through Friday.
Written by the team at Kansas City Chimney Cleaning.